How to Photograph the Quay at Golden Hour: A Beginner's Guide
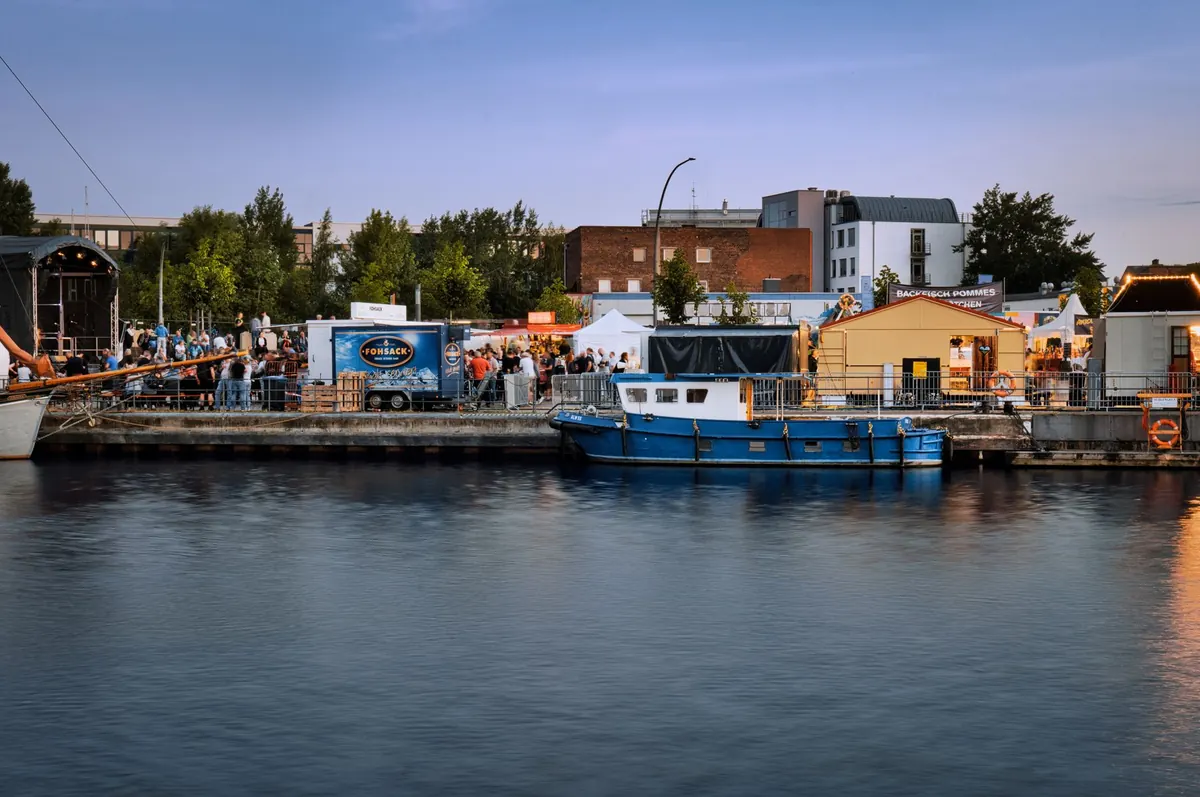
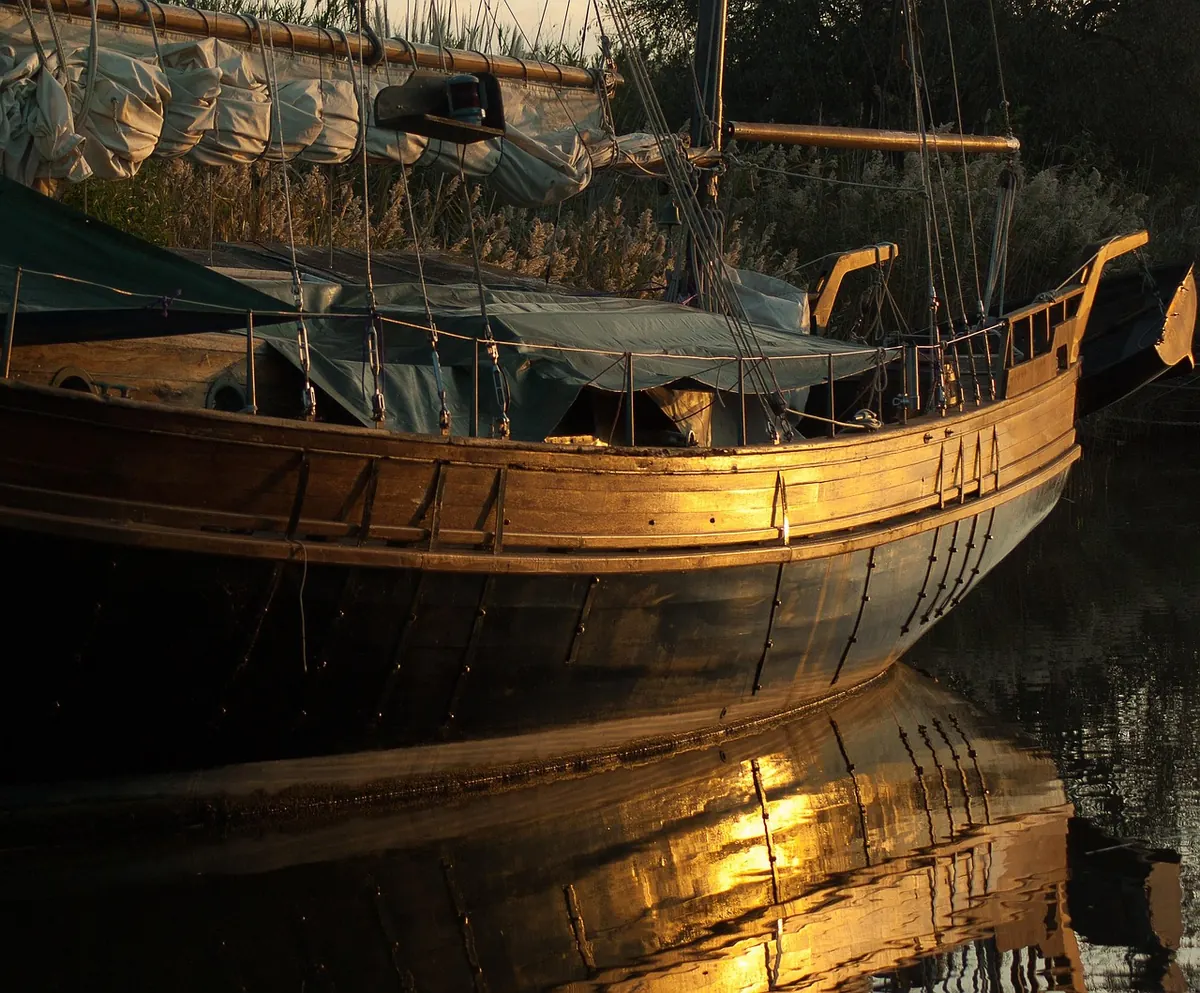
Golden hour at the quay lasts less time than most people expect. The light that turns wet stone the colour of copper and makes a row of mooring rings worth photographing might hold for twenty minutes, and the tide decides which part of the quay you are allowed to stand on while it happens.
The encouraging part is that waterfront photography is unusually forgiving. You do not need an expensive lens or a workshop weekend. You need to know when the sun sets, which way the water is moving, and where to put your feet.
Three things separate a lucky snapshot from a photograph you would actually print: timing, settings and composition. Here is how to handle all three on your first serious attempt.
Time It Right, and Arrive Early
Golden hour is the stretch around sunrise and sunset when the sun sits low in the sky. Depending on the season and how far north or south you are, it can run from roughly twenty minutes to well over an hour. Look up the sunset time for your area, then work backwards. The light usually becomes interesting in the last half of that window, and it often keeps improving for ten or fifteen minutes after the sun has dropped below the horizon.
That last point matters at the quay, because the best colour frequently arrives after the sun is gone, reflected in the clouds above the water. Plenty of photographers pack up the moment the sun disappears and miss the strongest ten minutes of the evening.
Arrive forty minutes early anyway. It gives you time to walk the length of the quay without the camera pressed to your face, decide on two or three positions, and be standing in the right one when the light turns. Rushing a location is the surest way to come home with nothing.
Read the Tide Before You Pack
At the waterfront, the tide shapes the photograph more than any setting on your camera. A high tide gives you water filling the frame, boats floating upright, and a clean surface for reflections. A low tide exposes slipways, mud, weed, chains and the texture of the harbour wall — a completely different picture, and often the more interesting one.
Slack water, the pause between tides, is the prize. Water with no movement makes the cleanest mirror, so if you want the buildings opposite reflected in the harbour, plan around the turn of the tide rather than the sunset alone.
Safety comes before composition. Tidal water can rise faster than a walking pace in some places, and stone steps and slipways get treacherously slick. Check local tide times rather than guessing, keep an eye on the water while you shoot, and never set up below the high-water line on a rising tide. Wet cobbles and seaweed are not worth a soaked camera bag or worse.
Settings: Start Safe, Then Get Creative
If you are new to manual modes, aperture priority is your friend. Set the aperture, let the camera choose the shutter speed, and adjust with exposure compensation when the scene tricks the meter. A starting point that works for most quay scenes:
- Aperture: f/8 to f/11. Sharp across the frame, with enough depth of field for a foreground bollard and the boats behind it.
- ISO: the lowest native setting on your camera, usually 100 or 200. On a tripod, turn auto ISO off.
- Shutter speed: your choice of mood. Around 1/250 or faster freezes ripples, gulls and ropes. Between about half a second and four seconds, with a tripod, turns water into smooth silk.
- White balance: daylight keeps the warmth the sky is giving you. Auto is fine if you shoot RAW and adjust later.
- File format: RAW, if your camera offers it. Golden-hour scenes have bright skies and dark hulls, and RAW gives you room to recover both.
- Support: a tripod plus a two-second timer or remote release. A neutral density filter, if you have one, lets you stretch exposures in bright light.
Expose for the sky. Meter on the brightest part of it, or dial in a stop of negative compensation, then check the histogram and keep the highlights from piling up against the right edge. Shadows at the quay are easy to lift when you edit; blown-out clouds are not recoverable. Focus a third of the way into the scene, or use manual focus on a near bollard at f/11 and let depth of field carry the rest.
Composition: Let the Quay Do the Work
Harbours are generous with structure. You have leading lines in the edge of the quay, the handrail, the slipway and the line of moored boats. You have ready-made foregrounds in bollards, capstans, mooring rings, coiled rope and standing water on the stones. Use them. A frame with something close and dark in the bottom corner reads as depth; a frame of nothing but sunset reads as a postcard.
Get low. Kneeling on the quay puts the water closer to your lens, doubles the reflection, and gives bollards some height against the sky. If the water is still, that low angle is usually the difference between a nice shot and a striking one.
Other things worth trying in the same session:
- Silhouettes. Expose for the sky and let masts, cranes and figures go black.
- Frame within a frame. Shoot through a railing, an arch or the gap between two bollards.
- A human element. A lone figure at the far end of the quay gives scale and a story.
- The opposite direction. The best colour is often on the buildings and boats behind you, lit by the sun you are ignoring.
Keep the horizon level and choose deliberately whether it sits on the upper or lower third. If the sky is doing the work, give it two-thirds of the frame. If the reflection is, flip it.
Weather Worth Waiting For
Clear evenings produce a small, brief burst of colour and not much else. Broken cloud is better: it catches the light and spreads colour across the whole sky for longer. Mist is better still, softening the far bank and separating boats into layers. Wind is the enemy of reflections, so a sheltered corner of the quay is worth the walk when it is blowing. Check the forecast the night before, but go anyway when it looks marginal — dull skies still give you practice with composition, and you will already know the ground when the good light finally arrives.
A Simple Field Routine
If you would rather not think about any of this on the day, borrow this sequence and adapt it:
- Check sunset time, tide times and wind direction the evening before.
- Arrive forty minutes early and walk the quay without the camera.
- Pick two positions and set up the first one before the light turns.
- Set f/9, lowest ISO, RAW, two-second timer on a tripod.
- Meter for the sky, shoot, check the histogram, adjust once.
- Re-shoot the same frame as the light changes — three or four versions of one composition beats twenty unrelated ones.
- Stay twenty minutes after the sun goes down, then pack up slowly and look behind you once more.
Your first golden hour at the quay will probably produce one photograph you like. Your fifth will produce four or five, because you will know which way the water moves, where the light lands on the wall, and where you need to stand before it happens. Go back often, note the tide and the time in your phone, and keep it simple. The quay has been doing this every evening for a very long time. It is patient with beginners.
Photo: jackmac34 / Pixabay
You Might Also Like
New Quay's noise ordinance sets decibel limits by time of day, shortens outdoor music hours, and gives venues a clear checklist to follow.
Seven annual waterfront festivals worth planning a trip around, with the typical timing, the view to aim for, and how to get there without a car.