How to Read a Harbor Tide Chart Before Your First Quay Walk
Reading a tide table is one of those small skills that pays for itself the first time you use it. A quay walk at the wrong hour means slick steps, a closed slipway gate or mud where you expected a promenade. At the right hour it means dry stone underfoot and boats sitting upright on their moorings. The table is free, it takes a minute, and it is almost always posted at the harbor office or on the port's website.
What a Tide Table Is Really Telling You
Most coastal harbors get two high waters and two low waters roughly every 24 hours and 50 minutes. That extra 50 minutes is why the good low tide drifts later each day: if today's low falls at 09:30, tomorrow's sits near 10:20. That single fact explains most of the confusion beginners feel when they check the same chart a day later and find everything has moved.
A table gives predicted times and predicted heights for a named port. Heights are measured from a fixed reference level called chart datum, set low enough that the tide rarely drops beneath it. A low water of 0.4 m does not mean half a metre of water lies everywhere in the harbor. It means the level at the reference point sits 40 cm above datum. Sandbars, mudflats and the foot of a slipway have their own depths, and those are what you actually care about.
Tables are predictions, not promises. They assume average weather. Wind and air pressure shift real water levels by tens of centimetres on an ordinary day, and by more in a shallow estuary.
Reading the Columns
Most tables give four or five columns, and two of them deserve close attention.
Times
Times run on the 24-hour clock in local time, so 16:20 rather than 4:20 p.m. Check whether daylight saving is in force. A table printed in winter and read in July can be an hour out, which is enough to put you on a rising tide when you planned for a falling one.
Heights
Heights appear in metres across most of Europe and in feet in much of the United States. Do not mix them. The gap between a high and the next low is the range: a 4 m range at springs exposes a lot of shore, while a 1.5 m range at neaps barely changes the look of the harbor.
Suppose a table reads:
- 03:12 4.6 m HW
- 09:28 0.9 m LW
- 15:40 4.4 m HW
- 21:52 1.1 m LW
Low water falls mid-morning. If you want to see the harbor floor, the old stonework and the mooring chains, aim for roughly 08:00 to 10:30. If you would rather watch water lapping the quay wall, come at 15:40.
Symbols and Shorthand You Will See
- HW and LW, or H and L: high water and low water, the turning points of each cycle.
- Springs and neaps: spring tides fall near the full and new moon and bring the biggest range; neap tides fall near the quarter moons and bring the smallest.
- m or ft above chart datum: the unit and the reference for every height in the table.
- BST, DST or UTC: time zone notes. Always check which one applies to the table you are reading.
- Asterisks or "estimated": the entry is worked out from a nearby standard port, so treat it as a guide with a wider margin.
- Slack water: the pause in the current rather than the water level. Useful if you are paddling, less so if you are walking.
- Coefficients: some countries print a number instead of, or alongside, the range. Bigger number, bigger tide.
How the Water Moves Between the Extremes
A tide table only gives the peaks and troughs. It does not tell you how fast the water climbs in between. The old rule of twelfths is a rough but useful way to fill that gap. Over the roughly six hours from low to high, the tide rises about one twelfth of its range in the first hour, two twelfths in the second, three twelfths in the third, three twelfths in the fourth, two twelfths in the fifth, and one twelfth in the sixth.
Take that 4.6 m high and 0.9 m low from earlier. The range is 3.7 m. One twelfth is about 0.31 m. If low water is at 09:28 and you arrive at 10:30, roughly one hour after low, the water may only have risen by about 0.31 m. The harbor floor will still be largely exposed. Arrive at 12:30, about three hours after low, and the tide may already be halfway up the wall. The rule is approximate, and it works better on open coast than in a complex harbor, but it turns a table from two fixed points into a moving picture.
Weather, Local Effects and Secondary Ports
Wind matters more than most beginners expect. A strong onshore wind can pile water against the quay and make high tide arrive early and higher. An offshore wind can hold water back, leaving the harbor lower than predicted. Low air pressure raises the sea slightly; high pressure lowers it. Heavy rain in the hills above a harbor can push extra water down the river and change the level near the mouth.
Many small harbors are not standard ports. Their tables are calculated from a larger reference port nearby, with a time difference and a height adjustment. These secondary-port entries are useful, but they carry a wider margin of error. If the harbor has its own gauge board or a painted depth mark on the quay, look at it. Local marks often tell you more than a distant prediction.
If the wind has been blowing onshore for two days, trust your eyes as much as the printed number.
Picking a Window That Works
The window you want depends on what you want to see.
- Water against the quay wall and boats afloat: the hour either side of high water.
- Exposed harbor floor, old stonework, mooring chains: low water, ideally on a spring tide when the range is largest.
- Dry stone underfoot for a longer stretch of the quay: two to four hours after high water usually does it, but check the range first.
Whichever you choose, a falling tide is the friendlier one. If something goes wrong, the water is still moving away from you. A rising tide gives you no such grace: flat sand or mud can look unchanged for twenty minutes and then cut off your return route. On a quay walk, that usually means a longer detour or wet boots rather than real danger, but the principle is worth learning before you move on to beaches and estuaries.
A Quick Checklist Before You Walk
- Find the correct table for the exact harbor, not the nearest big town.
- Check the date and time zone, including daylight saving.
- Note high and low times and the range between them.
- Decide whether you want high water, low water or a dry-stone window.
- Check the wind and recent weather, especially if the harbor faces the open sea.
- Give yourself a buffer of at least thirty minutes on either side.
- Look at the actual quay before you commit; steps and slipways tell their own story.
Common Beginner Mistakes
- Reading the height as the depth of water everywhere in the harbor.
- Forgetting that times shift later by about 50 minutes a day.
- Mixing metres and feet, or springs and neaps, in the same plan.
- Assuming a small range means no tide at all; even 1 m changes a slipway.
- Ignoring the wind, which can push water in or hold it out.
- Treating an estimated secondary-port entry as precise.
Read the table before you leave, check it again at the harbor, and keep one eye on the water while you walk. That is enough to turn a tide chart from a confusing grid of numbers into a simple appointment with the sea.
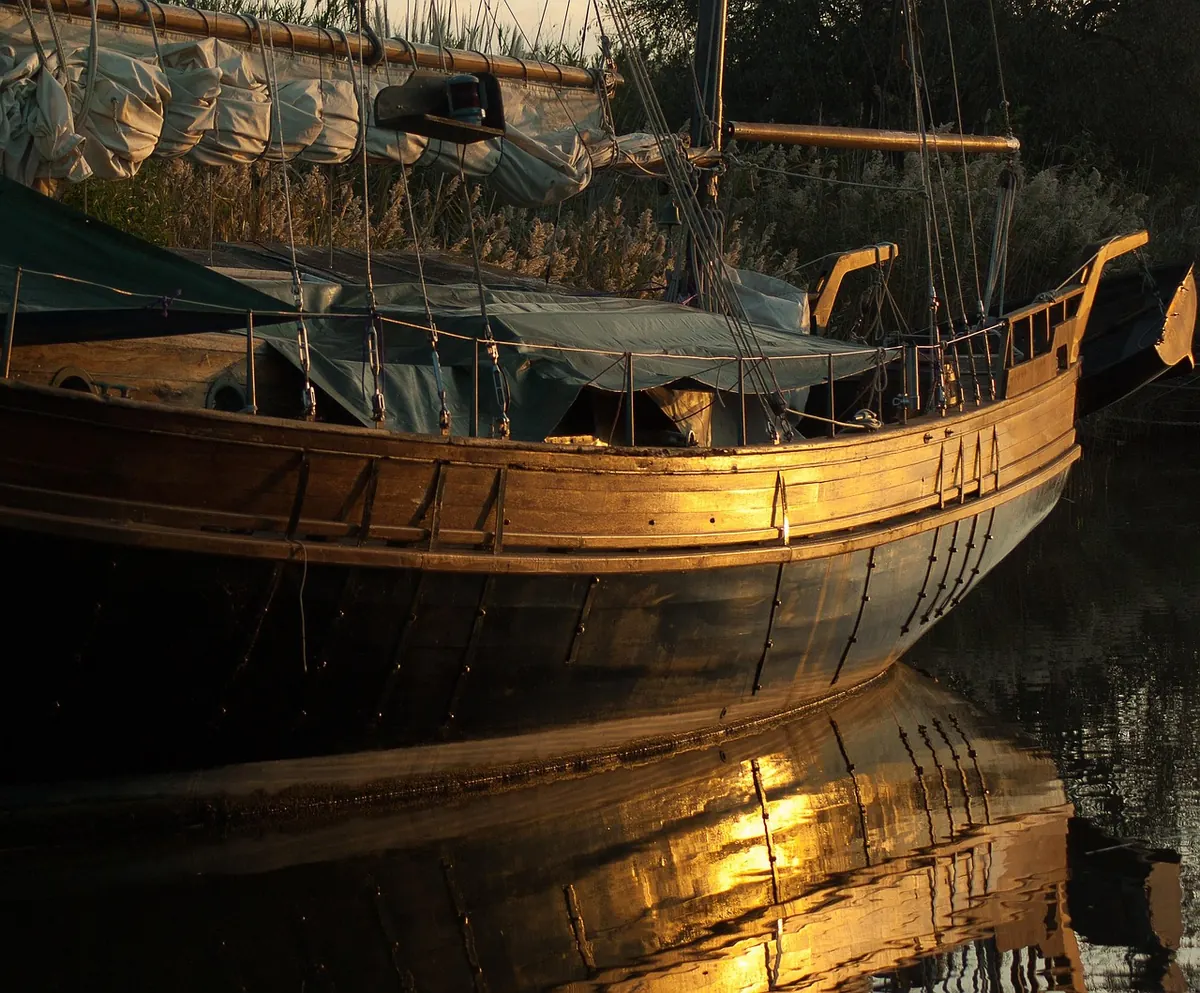
Photo: AS_Photography / Pixabay

You Might Also Like
Golden hour at the quay rewards a little planning. Here are the camera settings, tide timing and composition tips that make waterfront photographs work.
New Quay's noise ordinance sets decibel limits by time of day, shortens outdoor music hours, and gives venues a clear checklist to follow.